One big draw to the TS-7670 is the GPS receiver feature. When paired with a wireless network, such as through WiFi or cellular, it becomes a powerful tool in asset tracking or geo surveying. In this quick guide, we’re going to go through what it takes to get GPS working and how to read the data. Home
Introduction
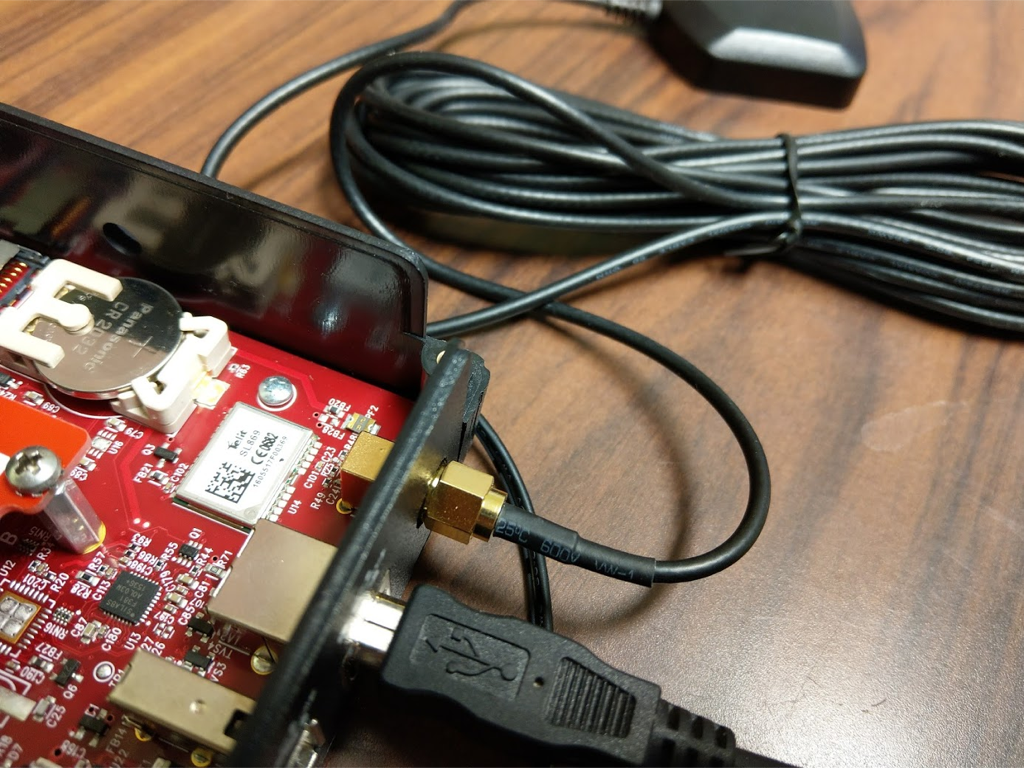
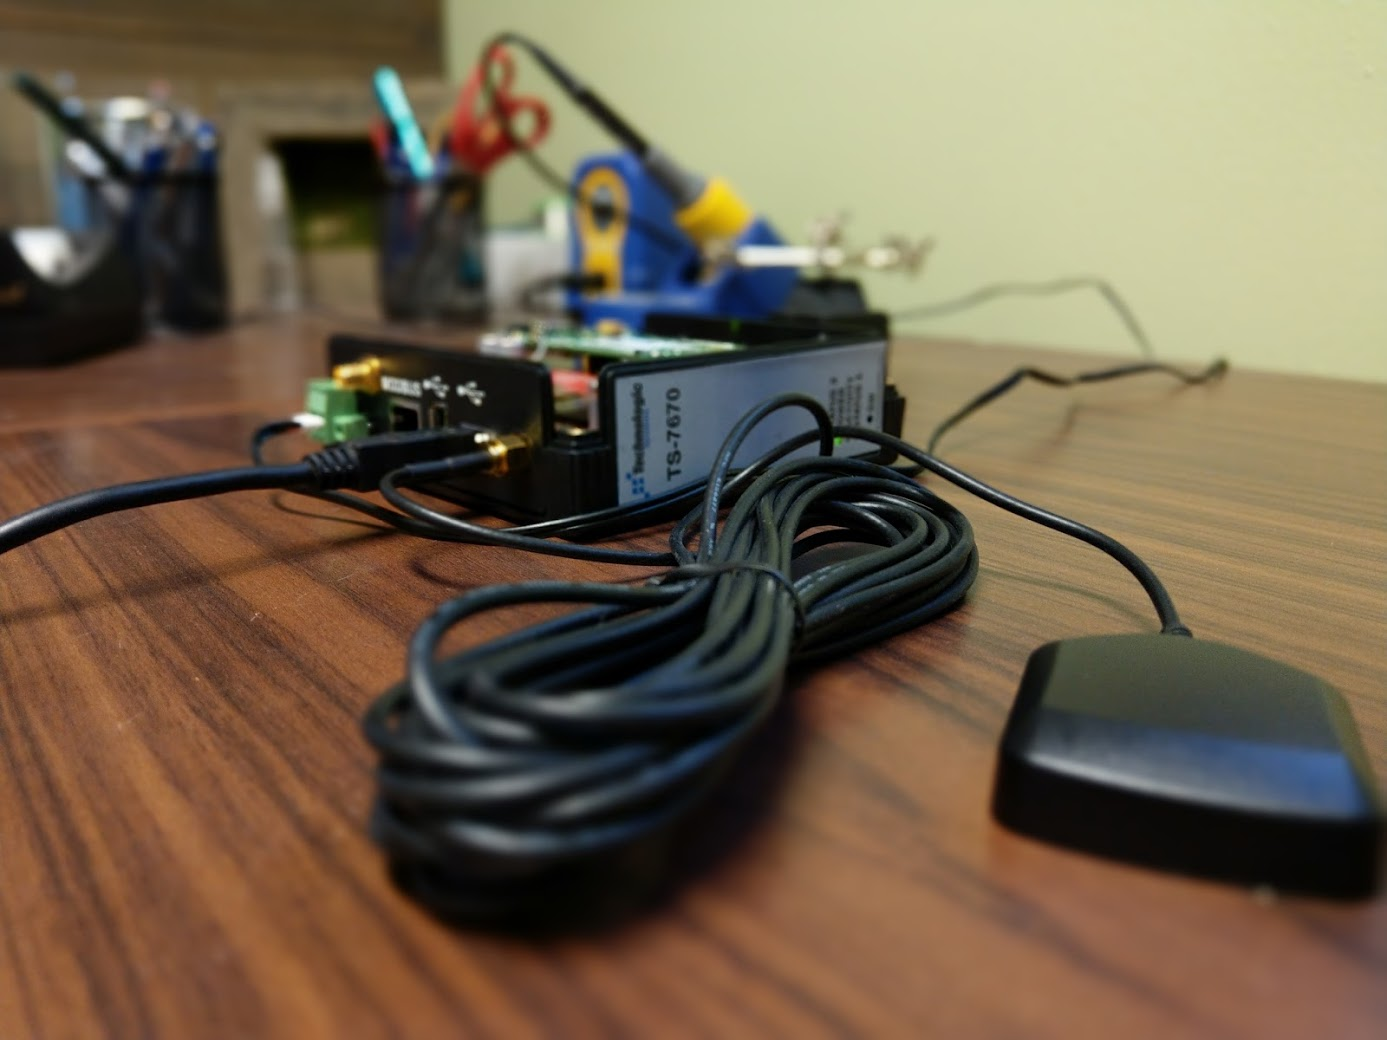
The TS-7670 uses the Telit SL869 Positioning GNSS with an external SMA GPS antenna (CB-ANT-GPS). It communicates through a UART serial port on the TS-7670 located at /dev/ttySP4 and reports standard NMEA statements every second or so. This data can be parsed using a script or, better yet, a third party set of tools such as gpsd. We’ll be verifying our serial connection and then install and use gpsd tools to help make sense of the data. Finally, we’ll look at an example Python script that prints out latitude and longitude as well as a bunch of other helpful data.
Verify Serial Connection
Once the system is powered on, the GPS receiver will be communicating over /dev/ttySP4. We’re going to use picocom to double check that the receiver is working properly before continuing to the next steps. So, open a terminal on the TS-7670 and use picocom to test the connection:
picocom -b 9600 /dev/ttySP4
If successful, you’ll see it start spewing out data that looks something like this:
$GPGGA,151653.000,37.2350,N,115.811111,W,1,14,0.7,1357.53,M,-17.3,M,,*63
$GNGSA,A,3,25,24,29,12,19,05,06,31,02,,,,1.2,0.7,0.9*23
$GNGSA,A,3,82,81,79,65,80,,,,,,,,1.2,0.7,0.9*27
$GPGSV,3,1,12,02,85,069,28,05,26,162,37,06,42,053,28,09,00,065,*74
$GPGSV,3,2,12,12,77,220,35,17,01,094,,19,19,088,30,23,00,037,*72
$GPGSV,3,3,12,24,10,217,36,25,49,303,41,29,25,285,36,31,06,333,30*71
$GLGSV,3,1,10,66,09,140,20,82,15,268,28,65,30,084,23,81,58,305,37*6B
$GLGSV,3,2,10,80,22,329,23,79,53,256,35,88,48,044,,87,06,069,*61
$GLGSV,3,3,10,72,19,033,,78,00,000,40,,,,,,,,*62
Although it looks like spilled alphabet soup, this is a good sign. You can see why we’d want to let a third party tool do the translation work for us. So, that’s what we’ll do next, install gpsd.
Installing and Starting GPSD
Installation is very straightforward. It’s just a matter of using apt-get to install the gpsd and gpsd-client programs. While we’re at it, let’s go ahead and grab the python packages as well for later sections.
apt-get update
apt-get install gpsd gpsd-clients python-gps
Once finished, you should now be able to start the daemon using:
gpsd /dev/ttySP4 -F /var/run/gpsd.sock
Now, we’re all set and ready for the next part! Using the gpsd client utilities to actually see sensible, human-readable data.
Using the GPSD Utilities
There are two main utilities we’ll be looking at here: cgps and gpsmon. The cgps utility is a demonstration client. The gpsmon utility is “a monitor that watches packets coming from a GPS and displays them along with diagnostic information”. gpsmon displays a lot of data in a table-like output while cgps displays a respectable amount of data in a less fancy way. Let’s take a look at both: Home
With, cgps you’ll see: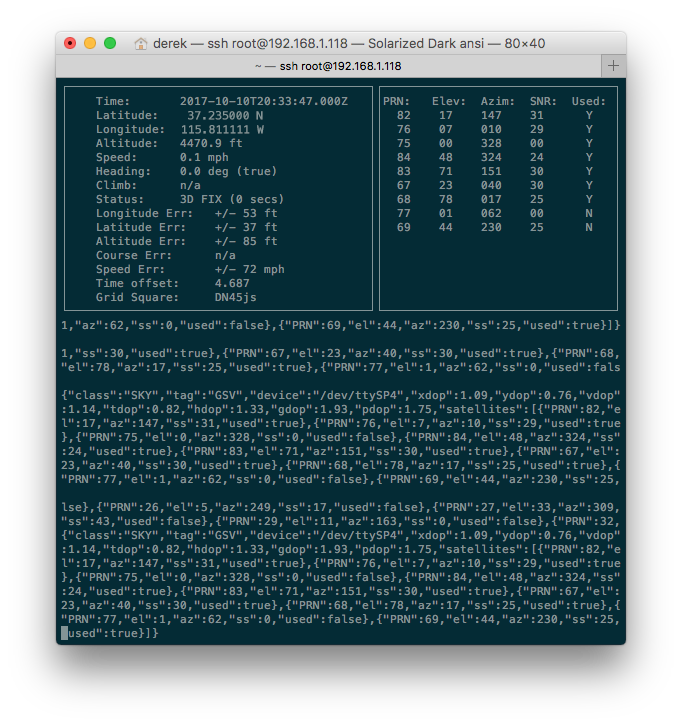
With gpsmon, you’ll see:
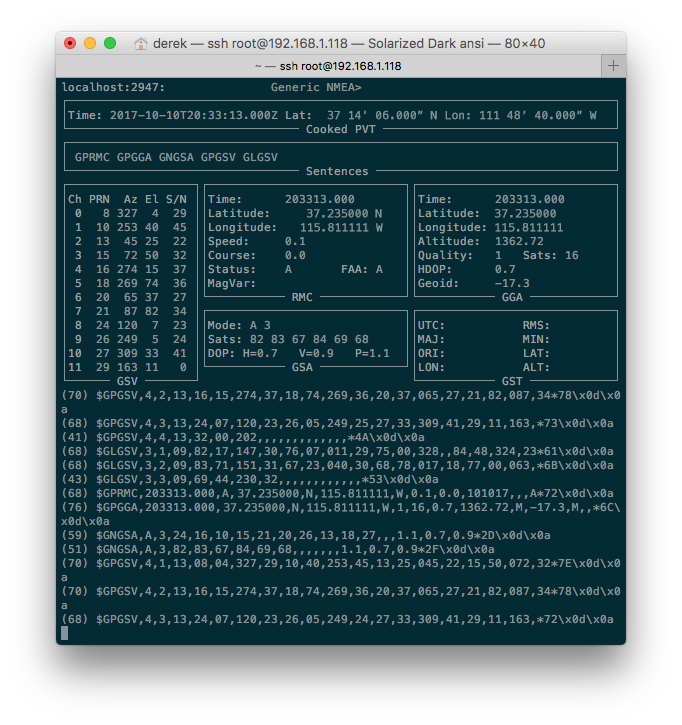
With each, you can see there is lots of data to read through, including the very important latitude, longitude, and time data.
Let’s now take a look at scraping through this data and creating a simple script to do something with it.
Pro Tip: If your terminal is spitting out question marks and other nonsense in place of the pretty lines you see in the screenshots above, you’ll want to setup the locale to use en_US.UTF-8 and setting your terminal emulator to identify as ‘xterm’. Issuing the command ‘dpkg-reconfigure locales’ will provide you with an option to select en_US.UTF-8 locale and set it as default. Once it has finished running, logout, set up your terminal preferences, and log back in again.
Programming or Scripting with GPS Data
You can program in several languages, including C/C++, using the gpsd library, but we’re going to keep it simple and stick with Python. Here’s an example Python script (source) that will output a bunch of data from the GPS receiver:
#! /usr/bin/python
# Written by Dan Mandle http://dan.mandle.me September 2012
# License: GPL 2.0

import os
from gps import *
from time import *
import time
import threading

gpsd = None #setting the global variable

os.system('clear') #clear the terminal (optional)

class GpsPoller(threading.Thread):
def __init__(self):
threading.Thread.__init__(self)
global gpsd #bring it in scope
gpsd = gps(mode=WATCH_ENABLE) #starting the stream of info
self.current_value = None
self.running = True #setting the thread running to true

def run(self):
global gpsd
while gpsp.running:
gpsd.next() #this will continue to loop and grab EACH set of gpsd info to clear the buffer

if __name__ == '__main__':
gpsp = GpsPoller() # create the thread
try:
gpsp.start() # start it up
while True:
#It may take a second or two to get good data
#print gpsd.fix.latitude,', ',gpsd.fix.longitude,' Time: ',gpsd.utc

os.system('clear')

print
print ' GPS reading'
print '----------------------------------------'
print 'latitude ' , gpsd.fix.latitude
print 'longitude ' , gpsd.fix.longitude
print 'time utc ' , gpsd.utc,' + ', gpsd.fix.time
print 'altitude (m)' , gpsd.fix.altitude
print 'eps ' , gpsd.fix.eps
print 'epx ' , gpsd.fix.epx
print 'epv ' , gpsd.fix.epv
print 'ept ' , gpsd.fix.ept
print 'speed (m/s) ' , gpsd.fix.speed
print 'climb ' , gpsd.fix.climb
print 'track ' , gpsd.fix.track
print 'mode ' , gpsd.fix.mode
print
print 'sats ' , gpsd.satellites

time.sleep(5) #set to whatever

except (KeyboardInterrupt, SystemExit): #when you press ctrl+c
print "\nKilling Thread..."
gpsp.running = False
gpsp.join() # wait for the thread to finish what it's doing
print "Done.\nExiting."
When you run it, you’ll see output similar to this:
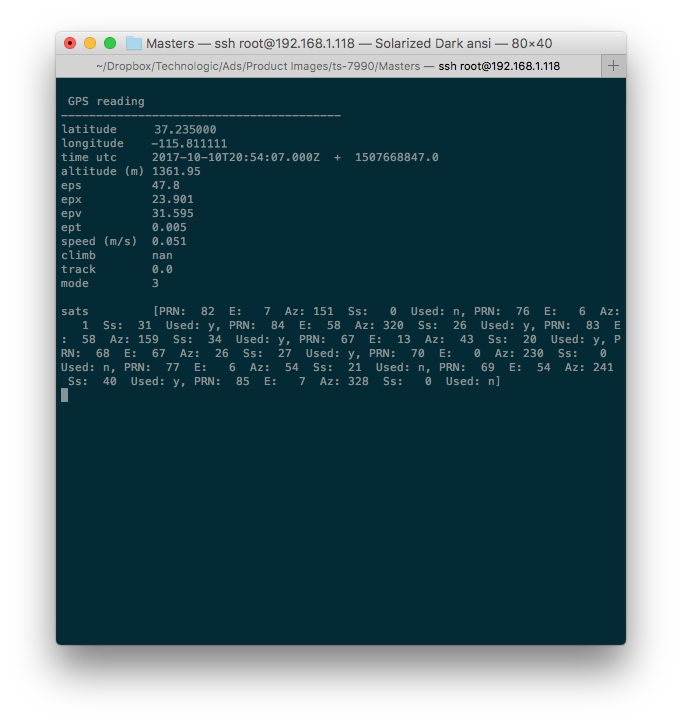
And, that’s that! Obviously, you’re going to want to modify the code to suite your specific application requirements.
Conclusion
In this getting started guide, we learned about the GPS receiver on the TS-7670 and how to interface with it through a serial port and third party utilities. We explored example scripts and created a Python script which we can use as a jumping off platform for a GPS enabled project.
If you have any questions or comments, please us know in the comments below or let the embeddedTS.community know! Home
One thought on “Getting Started with GPS on the TS-7670”